
Move Out Cleaning Checklist for Renters: Get Your Deposit Back
Last Updated: November 8, 2026
Quick Summary
A move out cleaning removes dirt, grime, and residue so the unit matches the condition your lease requires, which protects your security deposit. Clean the oven, refrigerator, bathrooms, and floors first, then compare the unit against your move-in condition report and photograph everything before returning the keys.
- Read your lease and move-in condition report before cleaning, since they define the required standard.
- Normal wear and tear is not your responsibility, but damage and dirt you cause can be deducted.
- Clean inspection-critical areas first: oven, stovetop, refrigerator, bathroom, and floors.
- Photograph and video each room after cleaning, and keep copies of everything.
- Request an itemized statement if the landlord deducts money, and compare each charge to your documentation.
Table of Contents
- What Move Out Cleaning Means for Renters and Why It Affects Your Deposit
- Read Your Lease and Move-In Condition Report First
- Printable Move Out Cleaning Checklist for Renters, Room by Room
- Tenant Move-Out Cleaning Checklist: Wear and Tear Versus Tenant-Caused Damage
- Move-Out Cleaning Checklist for Getting Your Deposit Back
- Prioritized Cleaning Plan by Time, Room, and Effort
- DIY or Professional Move-Out Cleaning Checklist: Deciding Which Route Fits
- Photo and Video Documentation Workflow Before You Hand Back Keys
- Booking Your Move-Out Clean With FreshStart Cleaning Service
- Frequently Asked Questions
Moving out of a rental is stressful enough without a deposit dispute on top of it. Most of what decides whether you get your full deposit back is simple: the unit should look like you found it, minus normal wear and tear. The checklist below covers what renters typically need to address before moving out.
What Move Out Cleaning Means for Renters and Why It Affects Your Deposit
Move-out cleaning is the cleaning a tenant does before returning the keys, so the unit is left in the condition the lease requires. In the United States, deposit rules vary by state, and a landlord may generally deduct from the security deposit for cleaning that goes beyond normal wear and tear.
Your deposit is most at risk where the landlord has a clear comparison point, such as a move-in condition report. Renters who document the unit well and clean to the standard their lease describes usually have a much easier time disputing any deduction. Start by reading the lease, then build your plan around what it requires.
Read Your Lease and Move-In Condition Report First
Before you clean anything, pull out your lease and any move-in condition report or inspection checklist you signed when you moved in. The lease usually spells out the cleaning standard, the notice period you owe, and whether a professional clean is required. Some leases say the unit must be “broom clean,” while others require a professional carpet cleaning or specific appliance cleaning.
The move-in condition report is your most useful document. Compare it room by room against the unit as it is now. If it notes an existing scratch on a cabinet door or a stain on the carpet, you are not responsible for that. Anything not recorded at move-in is likely to be assessed against you, so flag problems early and in writing rather than hoping they go unnoticed.
Printable Move Out Cleaning Checklist for Renters, Room by Room
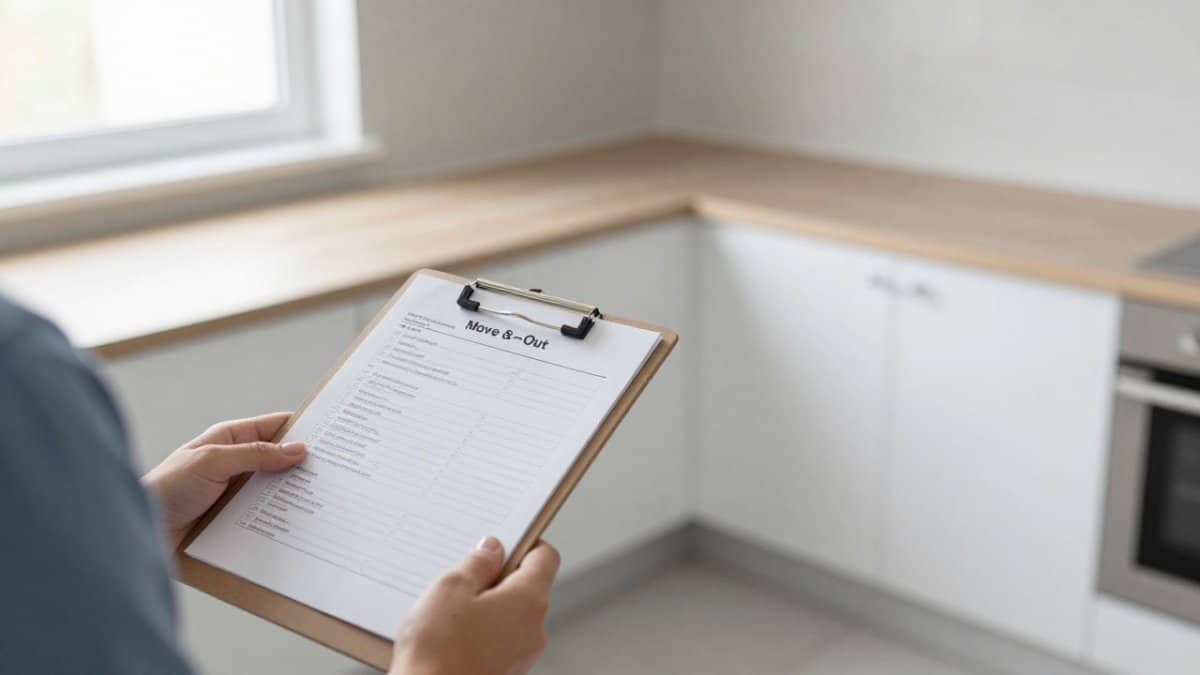
Work through the unit one room at a time, starting in the kitchen and finishing at the entry. Print this list or keep it on your phone, and check each item as you go.
Kitchen: Appliances, Cabinets, and Drip Pans
- Clean inside the refrigerator and freezer, including shelves, drawers, and door seals. Empty and defrost the freezer if needed.
- Wipe the outside of the refrigerator, including the top and the area behind the handle.
- Clean the oven interior, including the door glass. Remove and wash racks, and clean the broiler pan.
- Wipe the stovetop and clean the burners and drip pans. Replace any drip pans that are beyond cleaning.
- Dust and wipe the range hood filter, and clean the exterior of the microwave inside and out.
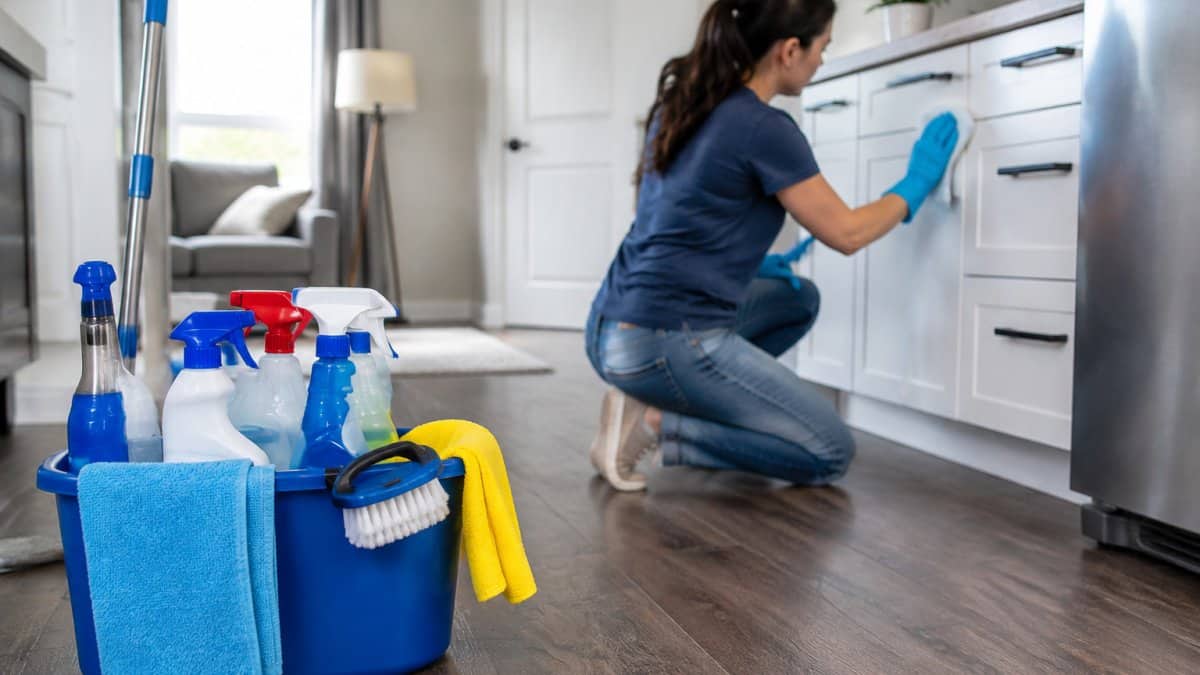
- Empty and wipe every cabinet and drawer inside and out, including the door fronts and handles.
- Clean the countertops, backsplash, and the sink, including the faucet base.
- Run the dishwasher with an empty cycle and clean the filter if your model has one.
Bathrooms, Floors, Windows, and Walls
- Scrub the toilet inside and out, including the base and behind the seat.
- Clean the tub, shower, and tile, and remove soap scum and mildew from grout and caulk.
- Wipe the vanity, mirror, light fixtures, and exhaust fan cover.
- Vacuum and mop all hard floors, including edges and under the appliances if you can move them.
- Vacuum carpets thoroughly. If the lease requires it, have the carpet professionally cleaned.
- Wipe baseboards and door frames, and check for scuffs.
- Clean the window glass, sills, and sliding-door tracks, then dust blinds.
- Dust ceiling fans, light fixtures, and vent covers.
- Patch nail holes and small wall holes only if your lease says you must, using the same paint color where possible.
Tenant Move-Out Cleaning Checklist: Wear and Tear Versus Tenant-Caused Damage
The single biggest deposit fight is almost never about whether you cleaned, it is about whether a landlord can classify a condition as tenant-caused damage rather than ordinary wear and tear. Cleaning removes dirt; it does not repair damage. Knowing which bucket an item falls into tells you whether to scrub it, document it, or dispute it in writing.
The working distinction
Use this three-column test on every item you find during your walkthrough:
- Clean it: dirt, grease, soap scum, dust, crumbs, pet hair, sticker residue, light scuff marks that wipe off. These are cleaning obligations under nearly every lease.
- Document it as wear and tear: faded or chipped paint from age, worn carpet in high-traffic paths, loose or squeaky door handles, minor scuffs on baseboards, small nail holes from picture hanging, faded caulk, and appliance finishes dulled by normal use.
- Treat it as likely tenant-caused damage: burns or melted spots on counters, large carpet stains or pet odor, holes larger than a picture nail, broken blinds or fixtures, cracked tiles, water damage from a missed leak, and heavy grease or smoke film that will not come off with normal cleaning.
Watch out: a landlord may label a worn carpet “damaged” to justify replacement. If the carpet was already several years old at move-in, depreciation may be a fair basis for the landlord’s charge, rather than the full replacement cost.
Why the rules are not universal
Deposit handling is governed by state landlord-tenant statutes and, in some places, city or county ordinances. The details that vary include:
Rather than rely on a blog’s summary, check your state’s landlord-tenant statute and any local ordinance, and read the deposit-return section. If your lease cites a specific cleaning standard (“broom clean,” “professionally cleaned,” “same condition as move-in, normal wear excepted”), that language controls alongside the statute. state landlord-tenant statutes and deposit rules
Build a dispute file before you need it
For every item you believe is wear and tear, write one line in a running log: the room, the item, the condition, and the move-in report line that supports your position. Photograph it next to a dated reference. If the landlord later deducts for it, you already have the argument assembled, and most disputes are won or lost on whether the tenant can point to the move-in record, not on how hard they scrubbed.
Move-Out Cleaning Checklist for Getting Your Deposit Back
A thorough clean is only half the job. Use this sequence to make your deposit claim as strong as possible.
- Confirm your move-out date and give written notice according to the lease.
- Schedule the clean for the week before your move-out date, so you have time to fix anything the inspection finds.
- Complete the room-by-room checklist above, and address any items your lease specifically requires.
- Remove all personal belongings, trash, and unwanted items, including inside cabinets and the garage or storage area.
- Return all keys, remotes, garage openers, and mailbox keys you received.
- Ask the landlord for a joint walk-through and note their comments in writing.
- Request your forwarding address in writing if the landlord has not already asked for it.
Keep copies of everything. If the landlord deducts money, request an itemized statement and compare each charge against your documentation.
Prioritized Cleaning Plan by Time, Room, and Effort
A checklist tells you what to clean; a plan tells you what to clean first when you have eight hours, not two days. The order below front-loads the items landlords photograph during an inspection, appliances, bathrooms, and floors, and pushes cosmetic extras to the end so a short timeline never costs you the deposit.
Tier 1, inspection-critical (do these first, no matter what)
These are the items most commonly cited in deduction letters. Budget roughly 4 to 6 hours for a one-bedroom, 6 to 8 for a two-bedroom.
- Kitchen (90-150 min): oven interior and door glass, stovetop and drip pans, refrigerator inside and out including door seals, cabinet interiors and fronts, counters and sink, dishwasher filter.
- Bathroom (45-75 min): toilet base and behind the seat, tub and shower including grout and caulk, vanity and mirror, exhaust fan cover.
- Floors (45-90 min): vacuum all carpet, mop hard floors including edges and under movable appliances, spot-treat stains.
- Trash and belongings (30-60 min): every cabinet, closet, storage area, and the garage or patio, landlords deduct for left-behind items as readily as for dirt.
Tier 2, visible finishing (do if Tier 1 is done)
- Windows, sills, and sliding-door tracks (20-40 min)
- Baseboards, door frames, and switch plates (30-45 min)
- Blinds and window coverings (20-40 min)
- Ceiling fans, light fixtures, and vent covers (20-30 min)
- Wall scuffs and small nail holes, if the lease requires patching (30-60 min)
Tier 3, time-intensive, lower inspection weight
- Grout scrubbing beyond the bathroom (60+ min)
- Deep carpet extraction or professional cleaning (2-4 hours or outsourced)
- Inside-oven detail beyond the door glass and racks
- Exterior windows above the first floor
Plans by unit size and timeline
- One-bedroom, full day (about 8 hours): Tier 1 in the morning, Tier 2 after lunch, Tier 3 only if time remains. Clean the kitchen the night before if you can, it is the longest single block.
- Two- to three-bedroom, two days: Day one, kitchens and bathrooms; day two, floors, windows, walls, and final walkthrough. Leave the last two hours for touch-ups and photos.
- Last-day triage (4 hours or less): Tier 1 only, in this order, oven and stovetop, refrigerator, bathroom, floors, trash removal. Skip windows and baseboards; a landlord is far more likely to deduct for a dirty oven than dusty blinds.
Watch out: cleaning the oven and refrigerator last is a common mistake, both take longer than expected and leave grease or crumbs on floors you already mopped. Do them first, then clean the floor beneath them.
Sequence that saves rework
Work top to bottom and dry to wet in each room: dust ceiling fixtures and vents, then wipe walls and cabinets, then surfaces, then floors last. Carry one caddy and one trash bag per room so you do not backtrack. If you are hiring help for part of the job, book the carpet cleaning for after your own Tier 1 and Tier 2 work so the technician is not extracting over fresh crumbs.
The article suggests a rough time budget for each tier of cleaning work, so renters can plan their move-out day.
| Tier | Focus | Time estimate |
|---|---|---|
| Tier 1 | Kitchen: oven, stovetop, refrigerator, cabinets, counters | 90-150 min |
| Tier 1 | Bathroom: toilet, tub and shower, vanity, exhaust fan cover | 45-75 min |
| Tier 1 | Floors: vacuum carpet, mop hard floors, spot-treat stains | 45-90 min |
| Tier 1 | Trash and belongings removal | 30-60 min |
| Tier 2 | Windows, sills, and sliding-door tracks | 20-40 min |
| Tier 2 | Baseboards, door frames, and switch plates | 30-45 min |
| Tier 2 | Blinds and window coverings | 20-40 min |
| Tier 3 | Grout scrubbing beyond the bathroom | 60+ min |
Estimated Time for Each Move-Out Cleaning Tier
DIY or Professional Move-Out Cleaning Checklist: Deciding Which Route Fits
Doing the work yourself saves money but costs time and energy, and small gaps can cost you a deposit. Hiring a professional can be worthwhile when the unit has heavy grime, pet odors, or carpets that need deep cleaning, or when you cannot take a full day off. A professional cleaning service may also provide documentation that can be useful if the landlord disputes the condition of the unit.
FreshStart Cleaning Service offers move-out deep cleaning for renters in Alabama. Ask any company whether it is insured, how it handles pet odors and stains, and whether its work is backed by a guarantee. If you are unsure, compare the quote against the cost of a deposit deduction that could result from a missed item.
Photo and Video Documentation Workflow Before You Hand Back Keys
Documentation is the strongest protection you have. Take photos and video after you finish cleaning and before you leave the unit.
- Walk through each room in a consistent order, starting at the entry and moving clockwise.
- Record a short video while narrating the room, noting the condition of walls, floors, and appliances.
- Take close-up photos of any area that could be disputed, such as the oven, bathroom grout, and carpet.
- Photograph the meter readings if utilities are in your name, and photograph the keys you return.
- Store the photos and video with the date in a folder or cloud account you can access later.
Send the landlord a copy of the documentation along with your forwarding address, and keep the originals.
Booking Your Move-Out Clean With FreshStart Cleaning Service
If you would rather hand the job to a professional, FreshStart Cleaning Service provides cleaning services across Alabama, serving Daphne, Mobile, and surrounding communities. The company is owned and operated by a 25-year military veteran and uses a RotoVac steam cleaning system for carpets and upholstery, along with eco-friendly, non-toxic cleaning agents that are safe for pets and children. You can review the full range of carpet, upholstery, stain, and tile cleaning services before booking. FreshStart Cleaning Service is fully licensed and insured, and it is a locally owned and operated business.
Book your move-out clean in advance so you have time to correct anything the inspection flags. To schedule a clean or request a quote, visit the FreshStart Cleaning Service website.
Frequently Asked Questions
What should renters clean before moving out?
Renters should clean the kitchen (appliances, cabinets, countertops, and sinks), bathrooms (toilet, tub, shower, and fixtures), floors and baseboards, windows and sills, and interior doors and light switches. Interior surfaces and appliances should be left as they were at move-in, minus ordinary wear and tear. Your lease and move-in condition report define the exact standard, so check them before you start.
How clean does an apartment need to be when you move out?
The apartment should be returned in the same condition as your move-in condition report, excluding normal wear and tear. That generally means empty of belongings, free of trash, and clean enough that the landlord would not need to hire a cleaner. Many landlords expect appliances, bathrooms, and floors to be spotless. Review your lease, since some specify the standard, and ask your property manager for a walk-through checklist.
Do renters have to clean carpets before moving out?
Many leases require renters to return carpets clean, and some require professional carpet cleaning if the carpet was clean at move-in. Pet odors, stains, and heavy soiling typically count as tenant-caused damage rather than wear and tear. Keep a receipt if you hire a carpet cleaner, such as FreshStart Cleaning Service, because it documents the work and supports your deposit claim.
How do I clean an apartment to get my security deposit back?
Start with your move-in condition report and lease, then work through a room-by-room checklist covering kitchen, bathrooms, floors, windows, and walls. Patch nail holes, remove mildew, and clean inside the oven and refrigerator. Photograph and video each room after cleaning, timestamped, and keep the files. Return keys on time and get a written move-out inspection if possible.
Should I hire a professional move-out cleaner?
Hiring a professional makes sense if your time is limited, the unit has heavy grease, pet damage, or carpet stains, or your lease requires professional cleaning. Pricing depends on unit size, condition, and services requested, so contact FreshStart Cleaning Service for a quote. Always keep the receipt and before-and-after photos so you can document the work for your landlord.
How long does move-out cleaning take?
A studio or one-bedroom unit in average condition often takes a DIY renter several hours, while a larger unit or one with heavy buildup can take a full day or more. Carpet cleaning, oven cleaning, and wall patching add time. Plan a buffer of at least one extra day before your move-out deadline so unexpected tasks do not force a rushed clean.
Can I use a printable move-out cleaning checklist?
Yes. A printable move-out cleaning checklist for renters lets you tick off each room and task, and it creates a dated record you can share with your landlord. Pair it with your move-in condition report and time-stamped photos. Print one copy per room and keep the signed version with your lease records.
